
A clear tray can look perfect from the front and still fail when the product is inserted. A corner may be too thin, a cavity may grip too tightly, or a clamshell may spring open. These problems explain why the PET thermoformed packaging process is not simply “heat a sheet and pull it over a mold.” Material, geometry and process settings have to work together.
PET is widely selected for transparent packaging because it is clear, strong and lightweight, as summarized by the PET Resin Association. It is used in trays, clamshells, lids and inserts, but the exact grade and construction must match the product, temperature conditions and destination market.
1. Define what the tray must do
Development begins with the real product. The designer needs its dimensions, weight, fragile areas, loading direction, removal method, display position and shipping conditions. The brief should also define whether the pack is an open tray, insert, lid, blister or hinged clamshell and whether it needs stacking lugs, snap features, hanging holes or tamper evidence.
If the resin is not yet decided, our comparison of PVC, PET and PP packaging is a useful starting point.
2. Design the part and thermoforming tool
A three-dimensional model turns the product brief into cavity dimensions, draft angles, radii, ribs and closure details. Draft helps the formed part release from the mold; generous, purposeful radii help the sheet stretch around corners. Deep or abrupt geometry can draw more material away from particular areas, creating uneven walls.
Prototype tooling may help confirm fit before production tooling is finalized. Buyers should test an actual product, not only review a rendering, because finger clearance, snap force and product removal are physical experiences.
3. Inspect and condition the PET sheet
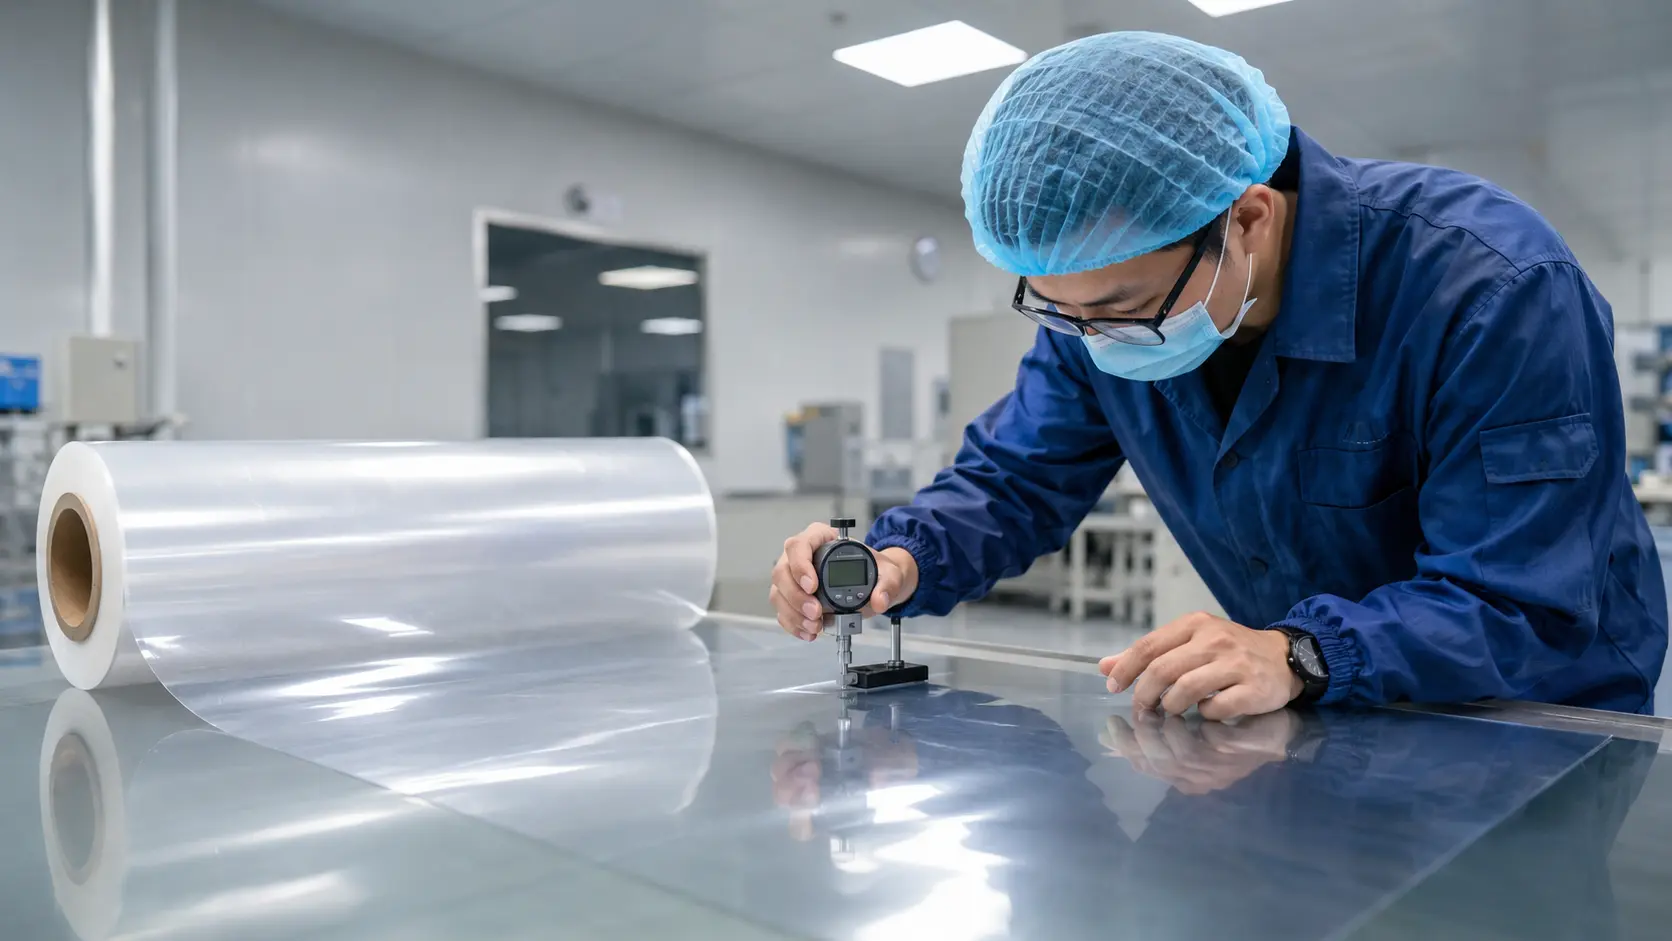
The production sheet is checked for identity, thickness, width, clarity, color, surface marks and roll condition. Virgin and recycled-content structures should be stated accurately in the specification. Sheet handling and storage matter because dust, scratches and contamination remain visible in a clear finished pack.
4. Heat the sheet evenly
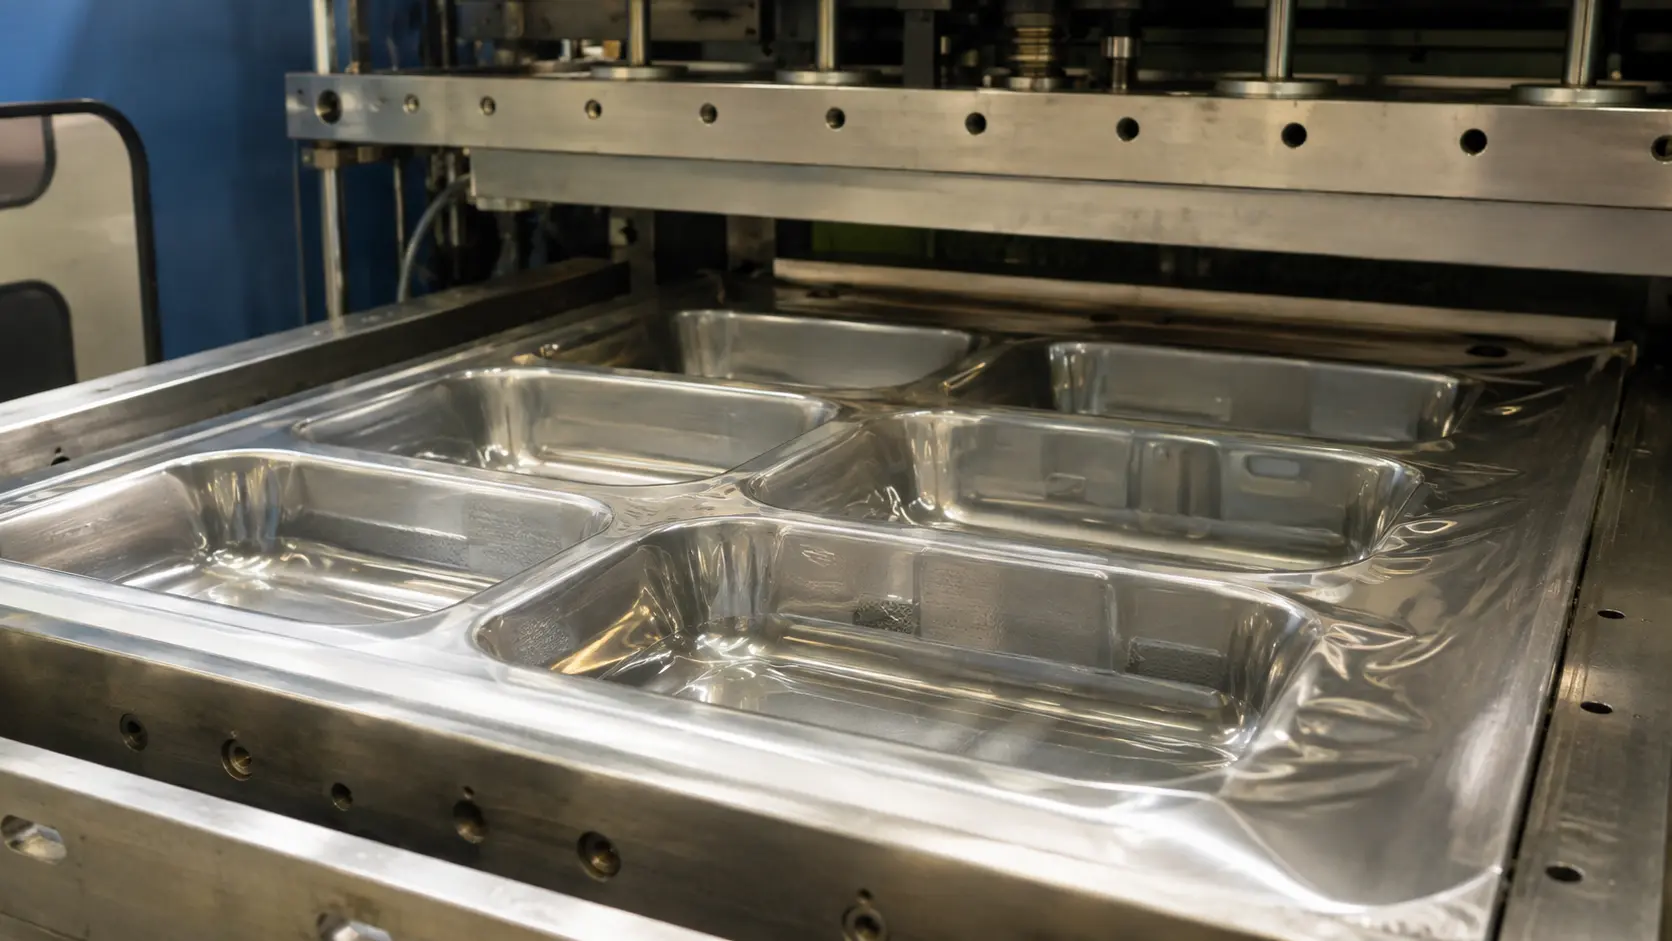
The sheet advances into a controlled heating zone until it is formable. Uniform heating is crucial: a cold area may resist stretching and reproduce details poorly, while an overheated area may sag excessively, haze or lose dimensional control. Heater balance, line speed, sheet condition and part layout are adjusted as one system.
5. Form and cool the package
Vacuum removes air between the softened sheet and mold; pressure or mechanical plug assistance may also be used for demanding shapes. The material conforms to the tool, then cools until the part can retain its geometry. Tool temperature and cooling affect cycle stability, release and warpage.
Buyer note: A nominal starting-sheet thickness does not equal the wall thickness at every point of a formed tray. Ask the supplier to evaluate critical corners, ribs and product-contact areas on the finished part.
6. Trim, separate and stack
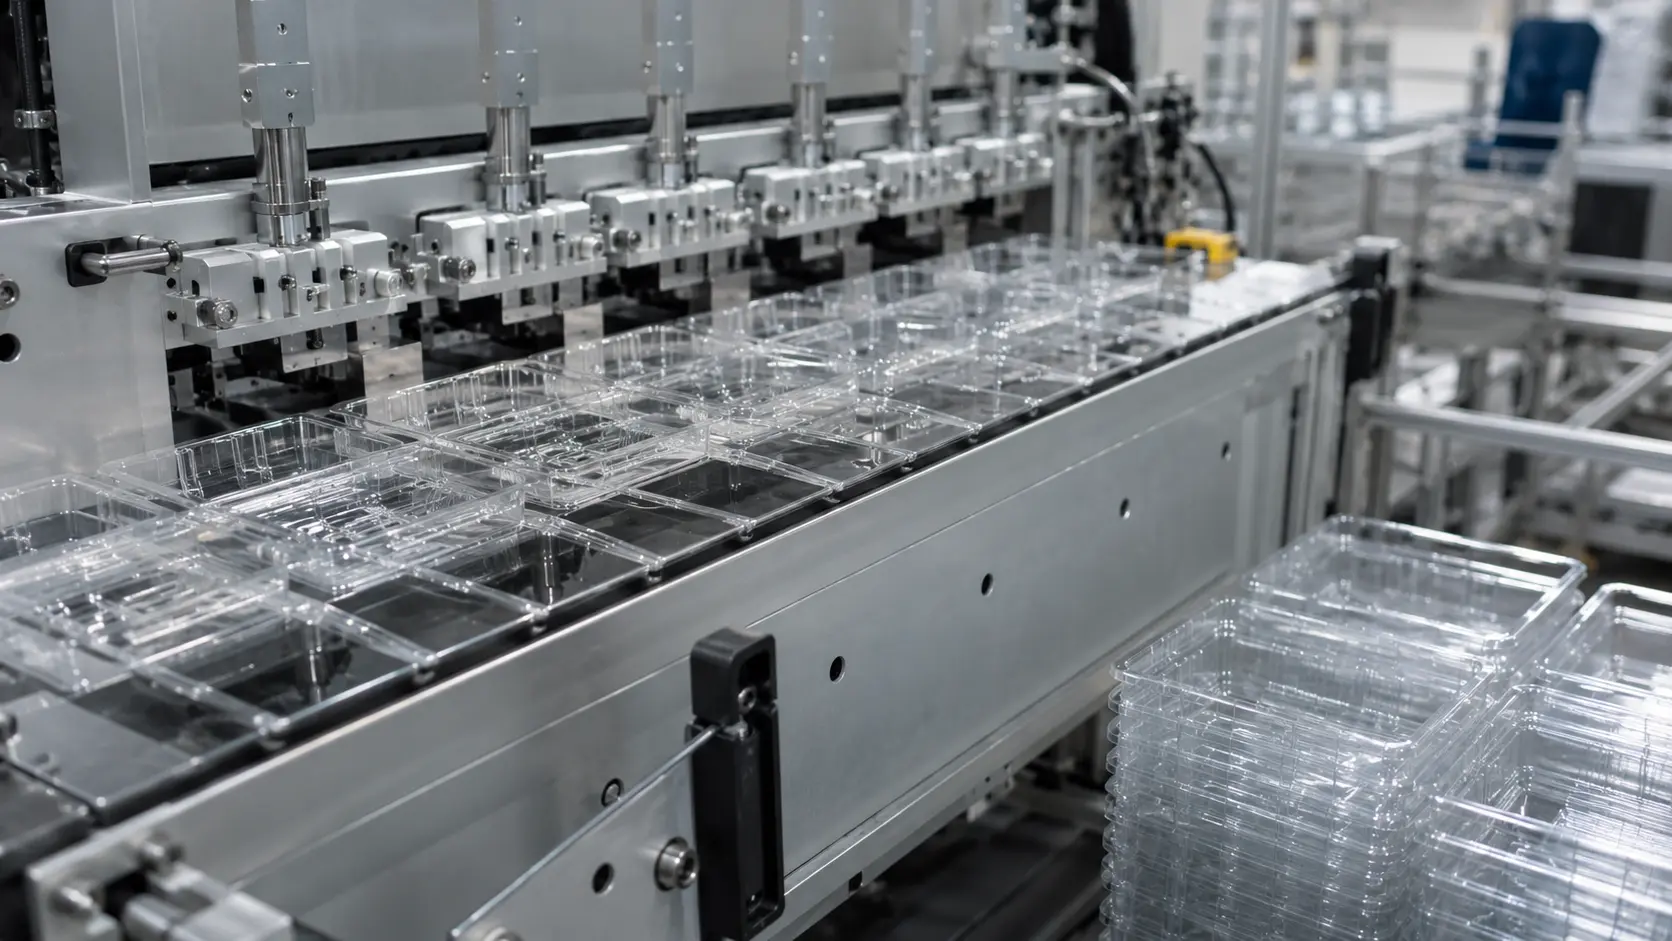
The formed web is trimmed to create the final flange and outer profile. Holes, slots or hanging features may be cut in the same or a later operation. Sharp edges, incomplete cuts and trim misalignment are common inspection points. Finished pieces are separated and stacked with enough clearance to avoid locking together.
7. Inspect appearance, dimensions and function
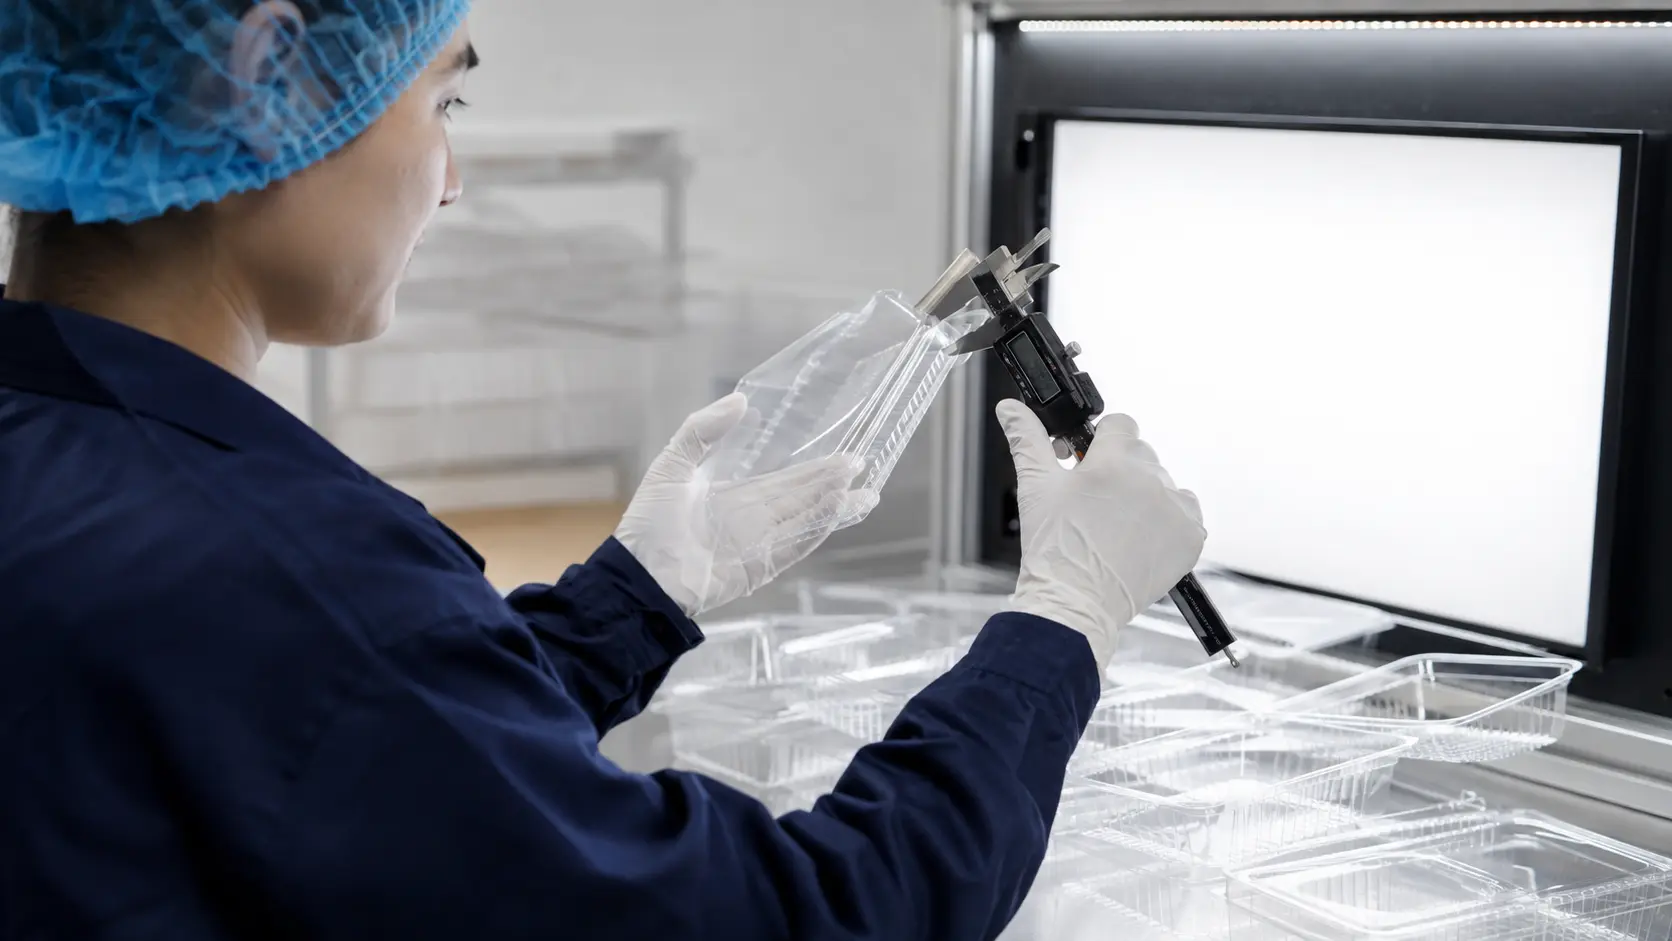
- Overall dimensions, cavity size and flange flatness
- Clarity, haze, black specks, scratches and contamination
- Thin corners, whitening, webbing, bubbles and incomplete detail
- Product fit, removal, retention and protection from abrasion
- Clamshell hinge movement, snap engagement and opening force
- Stacking, denesting and compatibility with the packing line
Inspection limits should be tied to an approved production sample. Our packaging quality-control checklist explains how to connect specifications, samples and pre-shipment decisions.
Design for the intended recycling system
A resin identification code identifies material; it does not guarantee local collection. Color, labels, inks, adhesives, barriers, dimensions and attached materials can affect sorting and reprocessing. The Association of Plastic Recyclers provides a detailed PET thermoform packaging design resource. Use the guidance relevant to the sales market and verify local acceptance before making a recycling claim.
Conclusion
A good PET tray begins with product fit, then balances draft, radii, sheet, heating, forming and cooling. Approving only the visual shape leaves too many unanswered questions. Share the product model, intended use, dimensions, quantity, market and packing-line needs through our sample request page so the structure can be tested before mass production.
