
A printed tin can be kept long after the product is gone, which is part of its appeal. Yet the rigid feel and neat lid fit depend on far more than decorating a metal sheet. Material temper, print direction, tooling, drawing depth, edge treatment and coating all interact. This guide follows the tinplate box manufacturing process for decorative and secondary packaging—not the specialized manufacture and validation of hermetically sealed food cans.
1. Define the product and opening experience
Share the product dimensions, weight, loading direction, inner tray or bag, sensitive surfaces and intended reuse. Decide whether the structure needs a slip lid, hinged lid, window, handle, rolled-in rim or multi-piece assembly. A tight lid may feel premium but become frustrating after temperature changes or small forming variation. Approve usable internal space and opening force with the actual product.
If you are comparing metal with board-based presentation packaging, see our guide to custom paper box manufacturing.
2. Specify the tinplate, not just “metal”
Tinplate is low-carbon steel with an electrolytic tin coating. The purchase specification should identify grade, nominal thickness, temper or mechanical properties, tin coating, surface finish, passivation and oiling as applicable. These choices influence stiffness, drawing behavior, print appearance and corrosion resistance. A thicker sheet is not automatically better if it cannot form cleanly with the selected geometry.
ISO 11949:2026 specifies requirements for single- and double-cold-reduced low-carbon electrolytic tinplate supplied as sheets or coils. The standard supports material definition; it does not define the complete performance of a finished decorative box.
3. Inspect sheets and plan the tooling
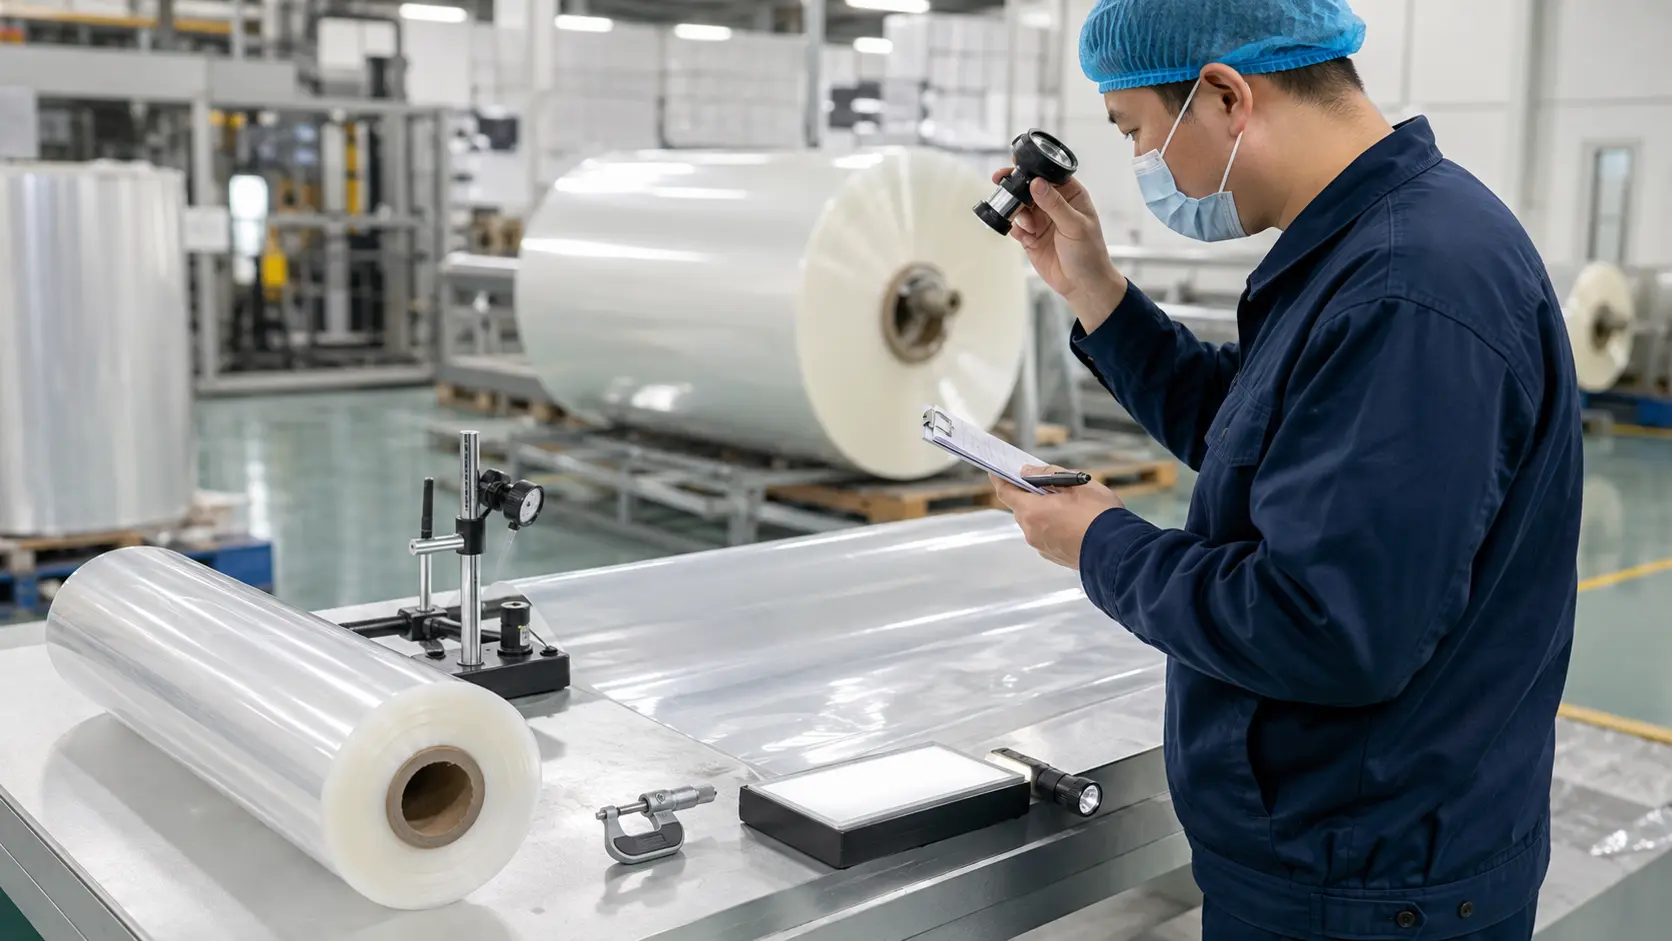
Incoming sheets are checked for identity, thickness, flatness, surface finish, scratches, stains, rust and edge damage. Engineers then create the blank layout and forming tools. Artwork orientation must match the metal grain, cut outline and draw direction. Deep corners, narrow embossing and abrupt transitions may stretch the print or thin the metal, so a formed prototype is more useful than a flat color proof alone.
4. Print and coat the flat metal
Metal offset printing is commonly applied while the sheet is flat. A base coat or white layer, process or spot colors, and protective varnish are printed and cured in sequence. Approve color under agreed lighting, registration, gloss, rub resistance and the visual effect after forming. The inner surface may require a lacquer selected for the product and contact condition; decorative outer varnish is not automatically an appropriate food-contact lining.
5. Blank, stamp and form the components
Printed sheets are aligned and blanked into individual pieces. Presses then draw, stamp, emboss or bead the lid and body. Multiple forming stages may be needed to avoid wrinkles, splits or excessive thinning. Cut edges are curled, hemmed or otherwise enclosed to add stiffness and reduce handling risk. Tool wear and press alignment are monitored because they affect dimensions and surface marks.
6. Assemble hinges, windows and inserts
Depending on the design, operators fit hinges, pins, handles, clear windows, clasps, trays or paper liners. Lid and body are paired and checked after forming. Different production lots should not be mixed casually where small dimensional changes could alter fit. Any window adhesive or internal insert becomes part of the approved bill of materials.
7. Inspect the finished tin as a complete pack
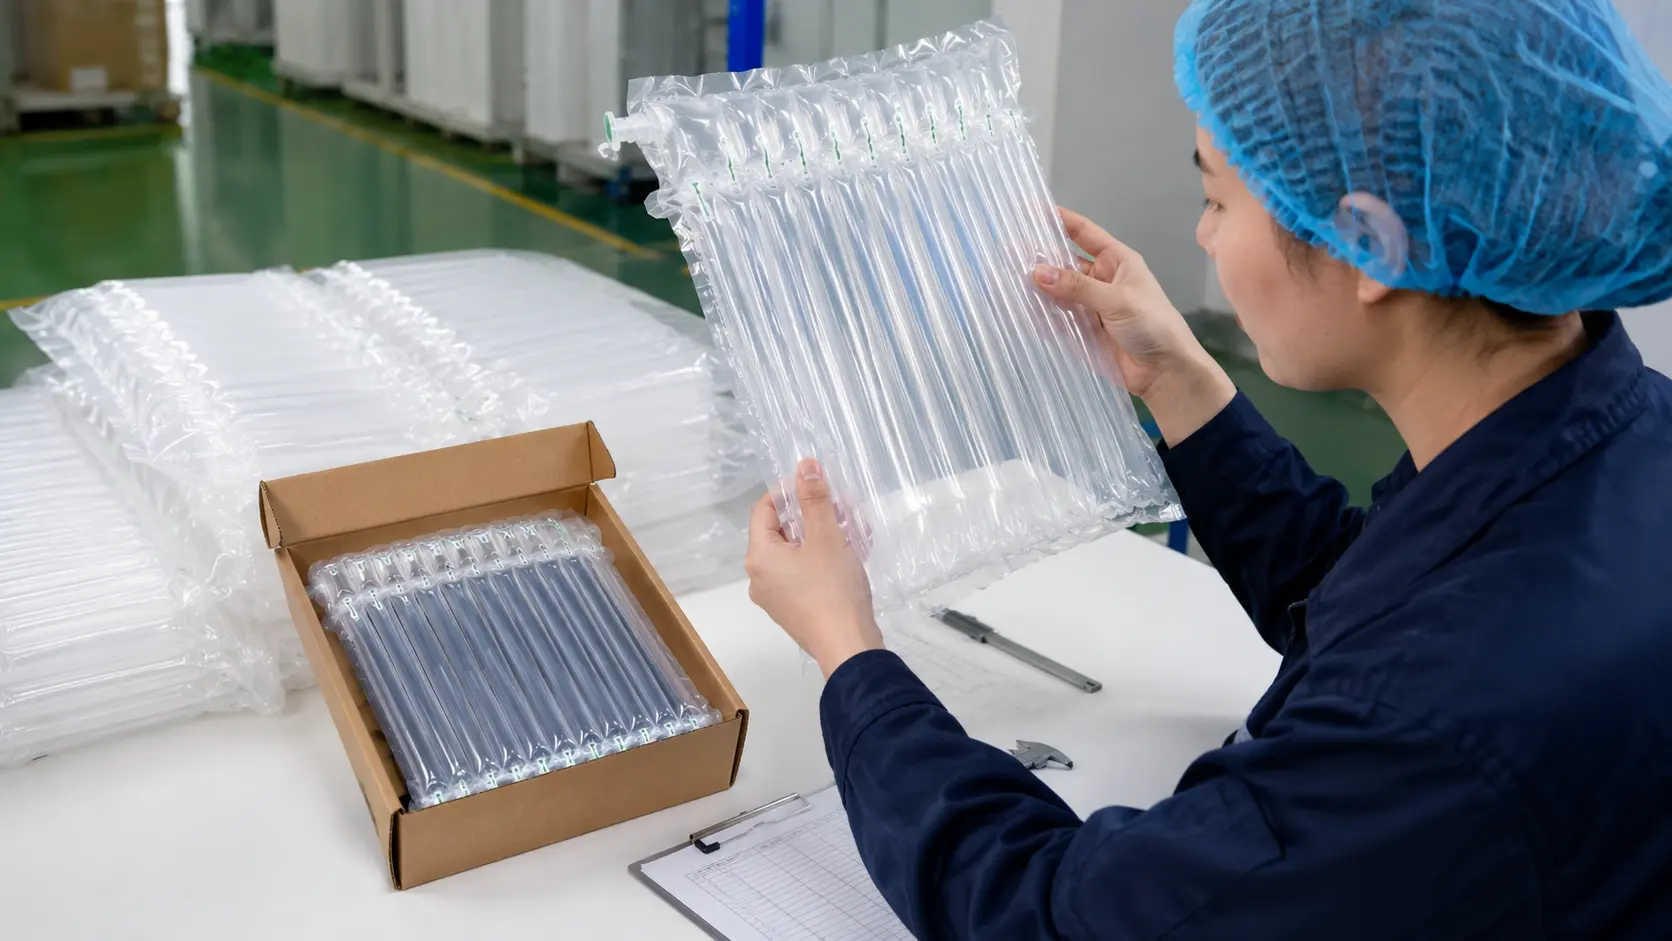
- External and usable internal dimensions with real product fit
- Lid engagement, opening, hinge or clasp operation
- Rolled edges, burr control, dents and deformation
- Print color, registration, scratches and coating adhesion
- Cleanliness, odor, rust protection and packing quantity
Use an approved production sample and written tolerances. Our packaging quality-control checklist helps coordinate material, in-process and pre-shipment inspection. Humidity exposure and transport abrasion should be considered for the actual route.
Food contact requires construction-specific evidence
Do not call a decorative tin “food safe” solely because it is made from tinplate. The FDA explains that authorizations for food-contact substances are tied to specific intended uses and conditions; its inventory covers substances listed in 21 CFR and points to separate notification and exemption inventories. Review the official FDA food-contact substance inventory guidance and confirm the exact metal, internal coating, ink, gasket, adhesive, food type and temperature condition. A decorative slip-lid box is not automatically hermetic packaging.
Conclusion
A reliable custom tin combines material definition, artwork adapted to forming, controlled tooling, protected edges and consistent lid fit. Send product dimensions, weight, structure, artwork, quantity, destination and contact requirements through our sample request page. Approve a formed, decorated sample with the real product before mass production.
