
A good foam insert does two jobs quietly: it holds the product where the designer intended and makes removal feel effortless. When it is wrong, the product rattles, sits too deep, catches on a sharp corner or arrives with pressure marks. The EVA foam inserts manufacturing process therefore begins with the actual product, not with a generic cavity drawn from nominal dimensions.
1. Define protection, presentation and removal
Share a production-representative product, its mass, fragile zones, cosmetic surfaces, accessories and shipping orientation. Decide whether the insert is mainly for retail presentation, repeated storage or distribution protection. A snug fit can look premium, but excessive interference may scratch a coating or make the product difficult to lift. Finger notches, pull ribbons and clearance around controls should be designed intentionally.
The insert also needs to fit its outer box. Review board thickness, internal dimensions and manufacturing tolerances together. Our guide to protective packaging material selection helps compare foam with fiber-based alternatives.
2. Specify the foam beyond its color
“Black EVA” is not a complete specification. Agree on foam type, apparent density, thickness, compression behavior, hardness test method if used, color tolerance, odor, surface texture, sheet skin, permitted recycled content and chemical requirements for the destination market. Density and firmness are related but are not interchangeable descriptions. A denser material is not automatically the best cushion for every product.
ISO 845:2006, confirmed current in 2024, specifies a method for determining apparent overall and core density of cellular plastics and rubbers. A purchase specification should name the method and conditioning rather than relying on an unexplained supplier grade.
3. Inspect sheets and build a working prototype
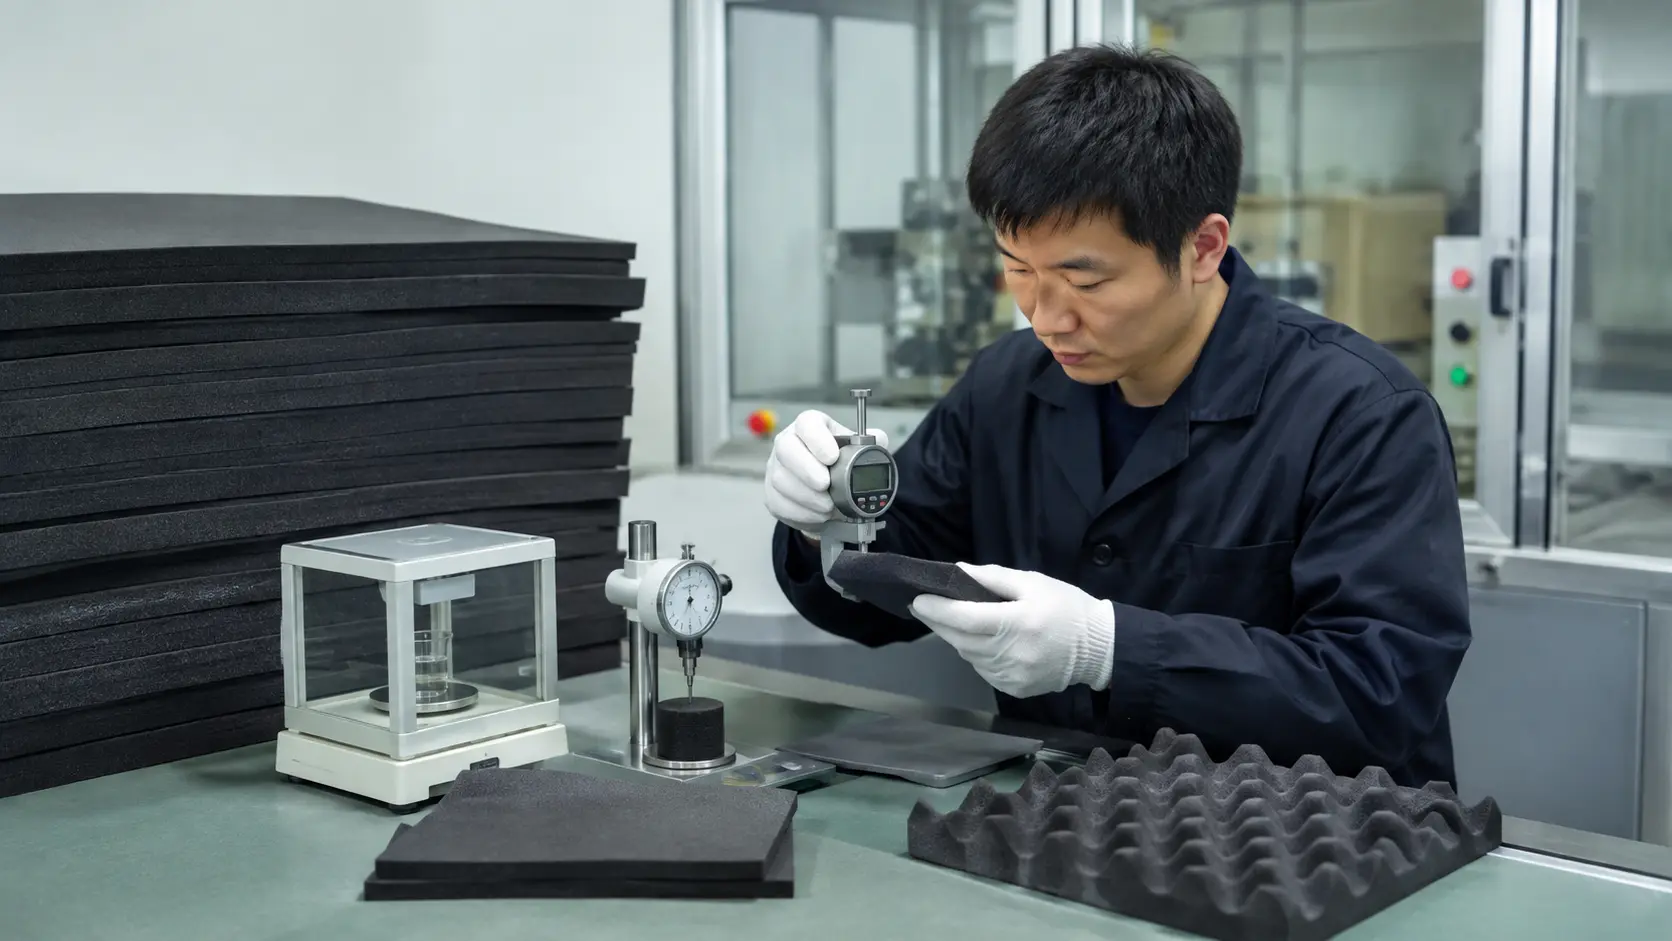
Incoming sheets are checked for identity, thickness, color, surface defects, voids, contamination, odor and lot consistency. The first prototype should use production-intent material and the real outer box. Designers then adjust cavity clearance, corner radii, depth, bridges between cavities and finger access. A CAD preview is useful, but a physical fit sample reveals friction and removal issues that a screen cannot.
4. Choose the cutting process for the geometry
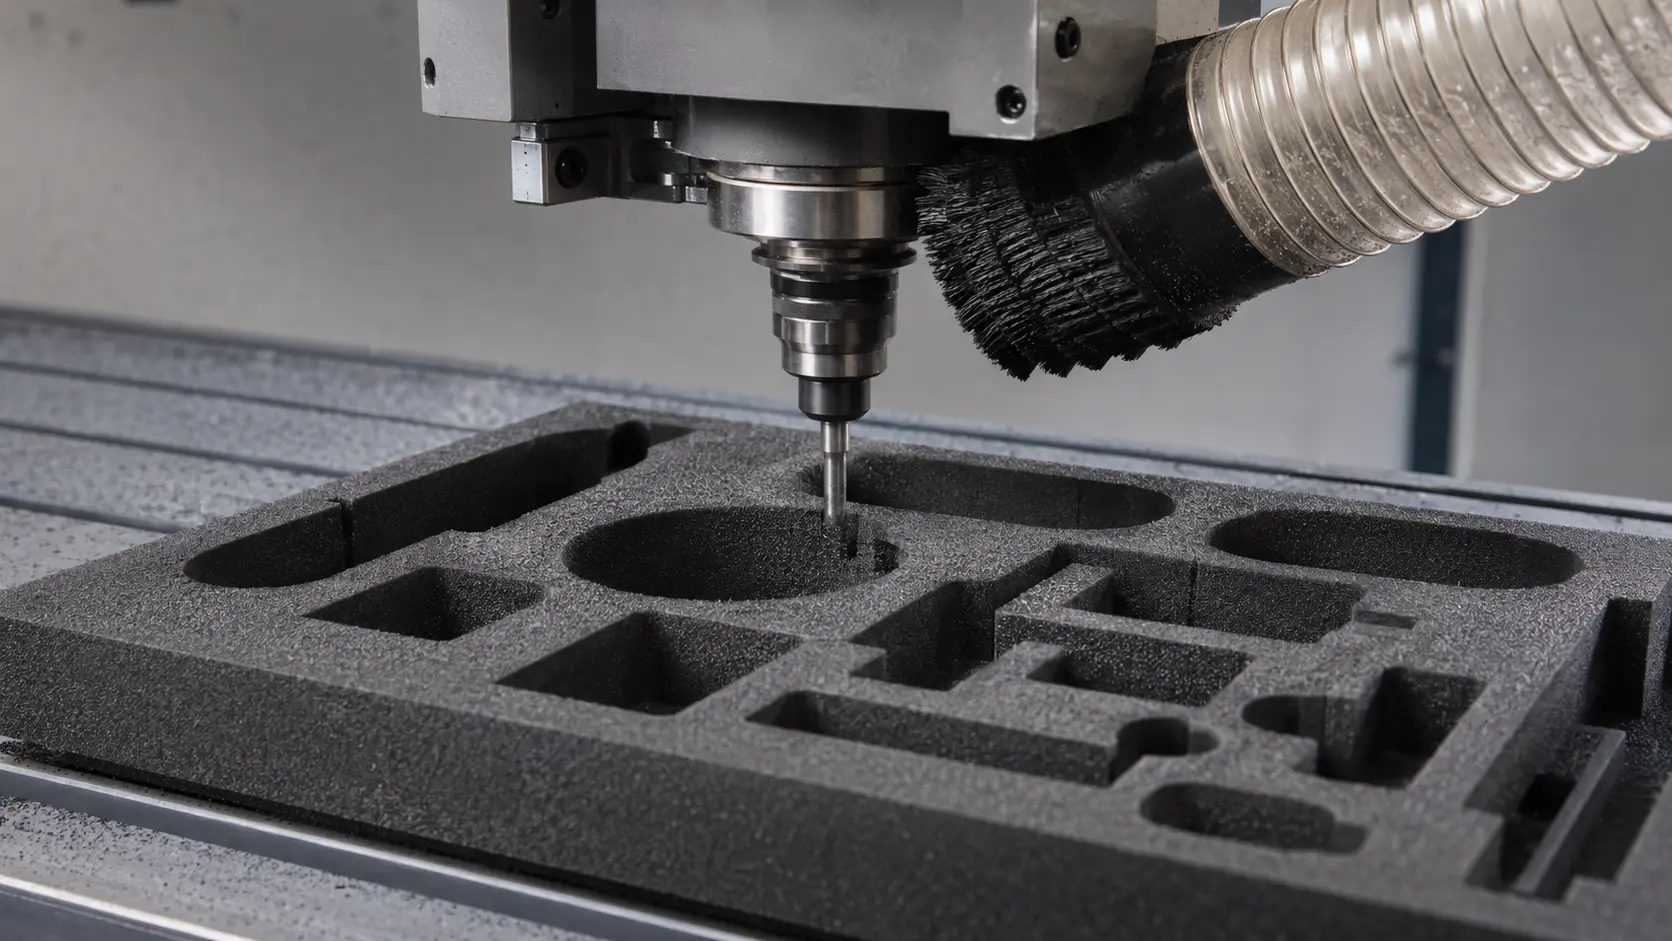
Steel-rule die cutting is efficient for repeated two-dimensional outlines. CNC routing can produce pockets, stepped depths and complex low-volume prototypes without a cutting die. Waterjet, laser or other processes may suit particular materials, but heat, edge appearance, dust, odor and dimensional capability must be evaluated on the actual foam. The cheapest cutting method is not always the cleanest solution for a visible luxury insert.
5. Laminate layers and add surface finishes
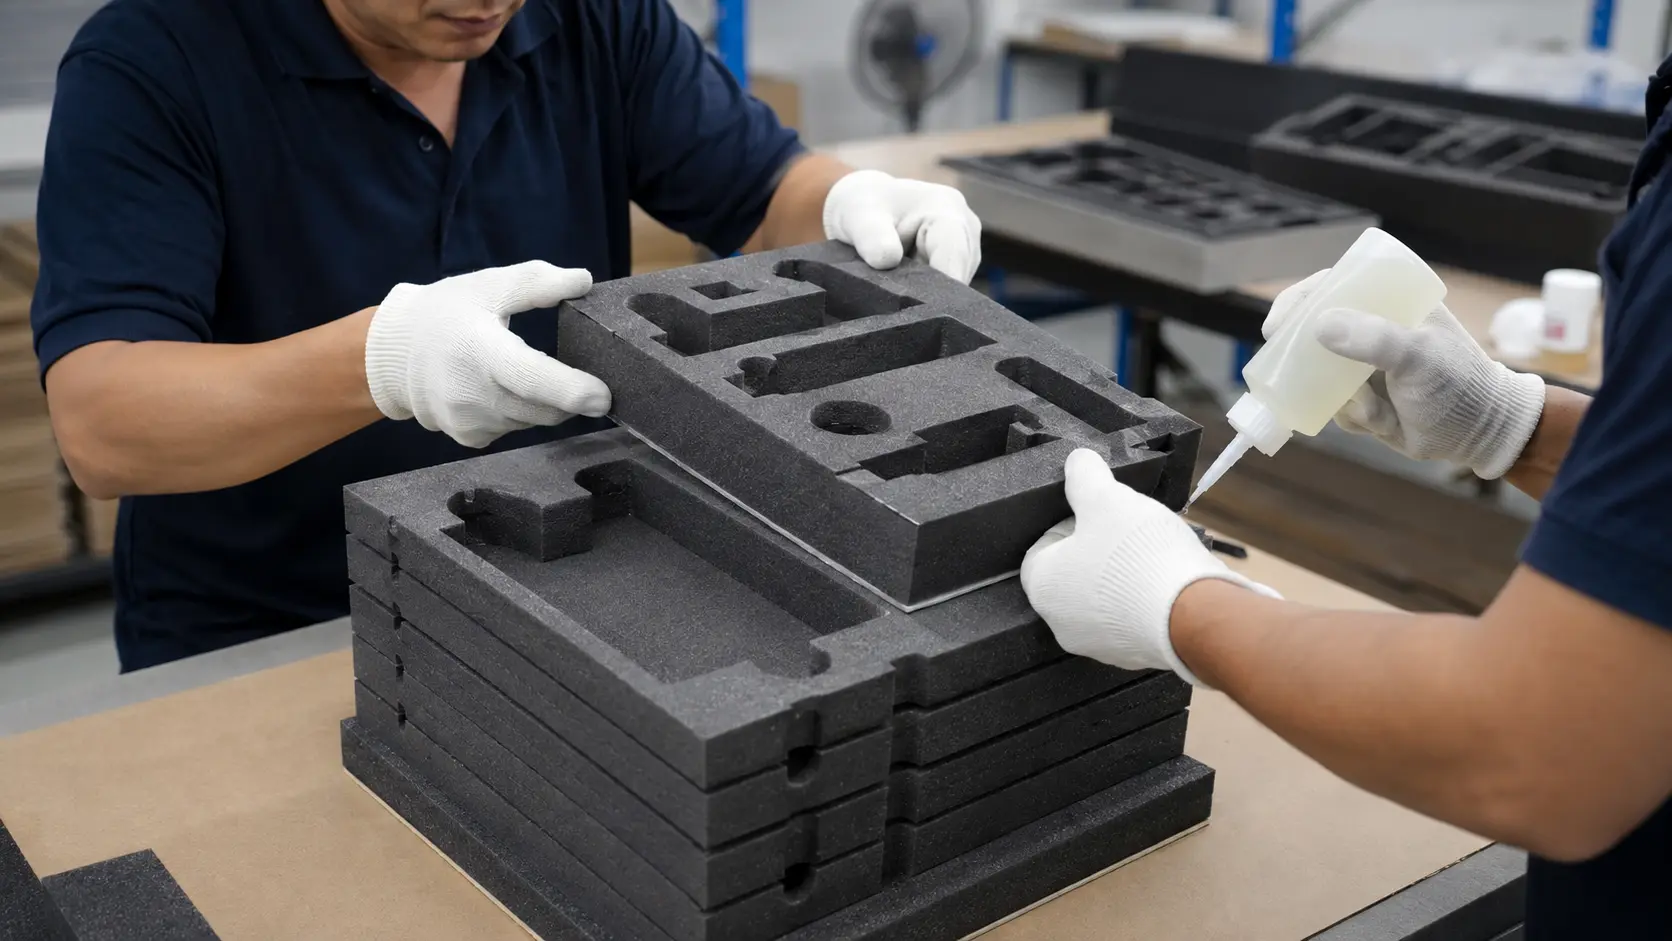
Deep inserts are often built from several cut layers. Operators align them with fixtures and control adhesive coverage, open time and pressure so that edges do not lift and glue does not bleed into cavities. A contrasting top layer, flocked surface, fabric wrap or printed card can change the presentation. Each added material also changes thickness, friction, odor and recycling options, so it belongs in the approved construction.
6. Verify compression and product protection
Material data should be connected to the use case. ISO 3386-1:2025 specifies a method for compression stress-strain characteristics of low-density flexible cellular materials up to 250 kg/m³. That scope is not a universal pass criterion for inserts; the buyer and supplier still need to agree on the applicable material, conditioning, compression point and acceptance limits.
For distribution, test the complete packed product rather than an empty insert. The plan may include handling, vibration or drop hazards appropriate to the route and product fragility. Inspect afterwards for product movement, permanent foam set, delamination, pressure marking and damage to the outer box.
7. Inspect production and control compliance claims
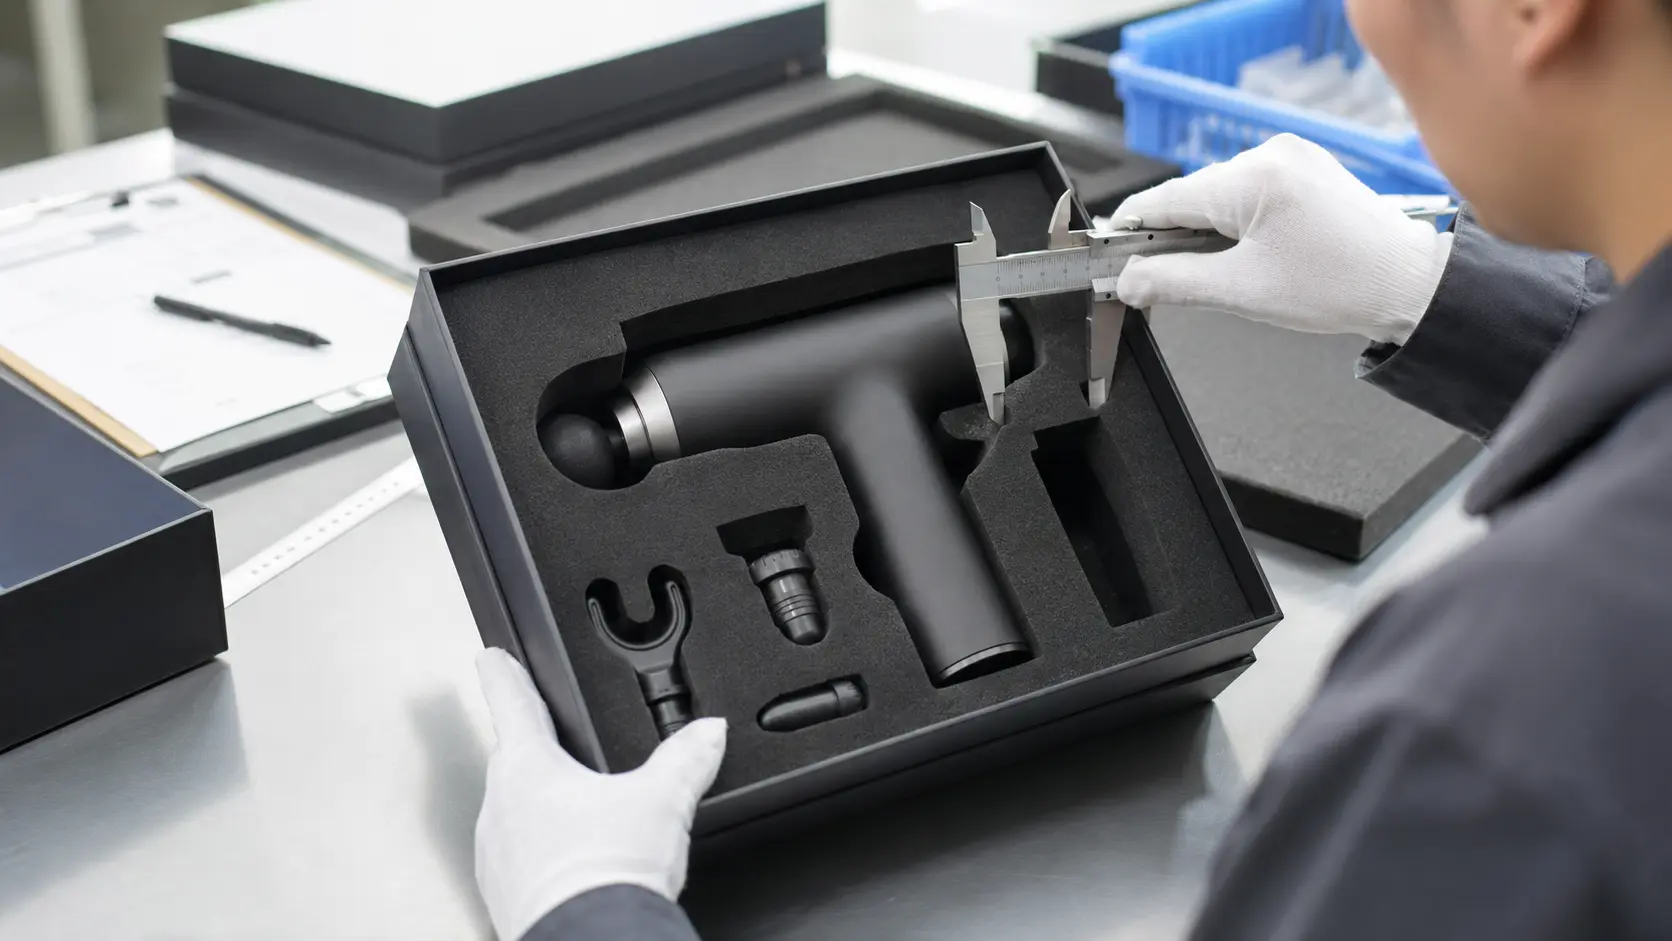
- Overall size, cavity position, depth and product fit
- Foam identity, thickness, color and visible cell defects
- Cut edge quality, dust, odor and surface cleanliness
- Layer alignment, adhesive bond and accessory placement
- Removal feel, box fit, packing orientation and quantity
Use an approved production sample and written tolerances. Our packaging quality-control checklist connects incoming, in-process and pre-shipment checks.
Avoid vague “REACH certified” wording. ECHA explains that Candidate List substances in articles can trigger legal duties for producers, importers and suppliers, and identifies plastic packaging as an example of an article. Review the current ECHA guidance for substances in articles and define the required declaration or test scope with the responsible importer.
Conclusion
A reliable EVA insert is a fitted component, not merely a piece of foam. Material specification, cavity geometry, cutting, lamination and packed-product validation must work together. Send the actual product dimensions, weight, outer box, quantity, destination and protection goal through our sample request page and approve a physical fit sample before production.
